How do you plait a leather belt?
I hear you ask... Maybe not, but I thought it was interesting... It's a big, long, time consuming process that I am fascinated by. I should introduce myself, I'm Charlies wife so you can call me The Stockman's Wife! (I do go also go by the name Little White Dove 'round these parts.)
Charlie is busy plaiting up orders at the moment, so I thought I would pop by and show you some of the processes he goes through to make a leather plaited item. I've been taking photographs of Charlie at the different stages of plaiting for a while, with this post in mind... I hope you enjoy!
 This is how the Kangaroo hide arrives. A very large piece of leather indeed. Sitting on top is a whole hide cut into one very big long strand.
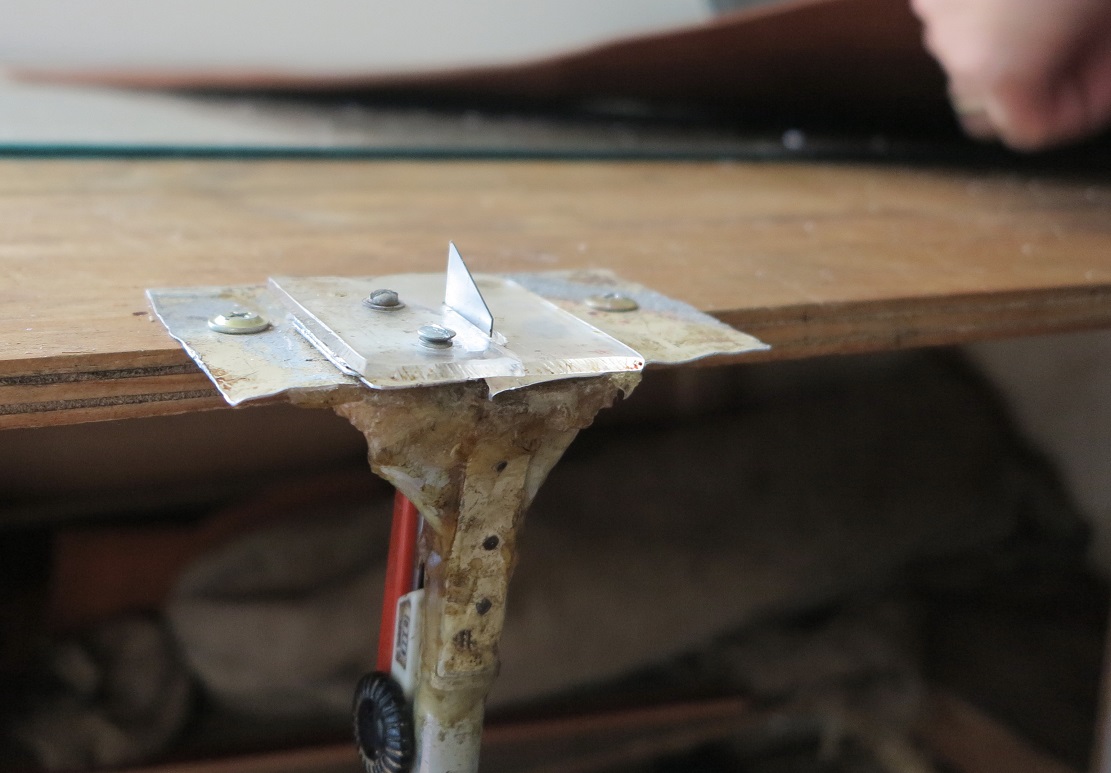 I know this looks like some weird kind of contraption that you'd probably want to throw out on hard rubbish, but this is the cutting tool. It was handmade by the lovely old guy, mentor, and friend of Charlies who taught him how to plait, Rod Moore.
 It takes great skill and a lot of practice to cut leather like this. Once you get a strand going, you just keep pulling it through, going around and around the hide.
 I know it's hard because I have tried. Not very successfully! It's so easy to just chop of the strand or make it too skinny. The idea is to adjust the width of the blade according to what you are making (ie belt, necklace, whip, watchband etc - they are all different widths), then cut the whole length in one go... without breaking it... easier said than done for a novice believe me.
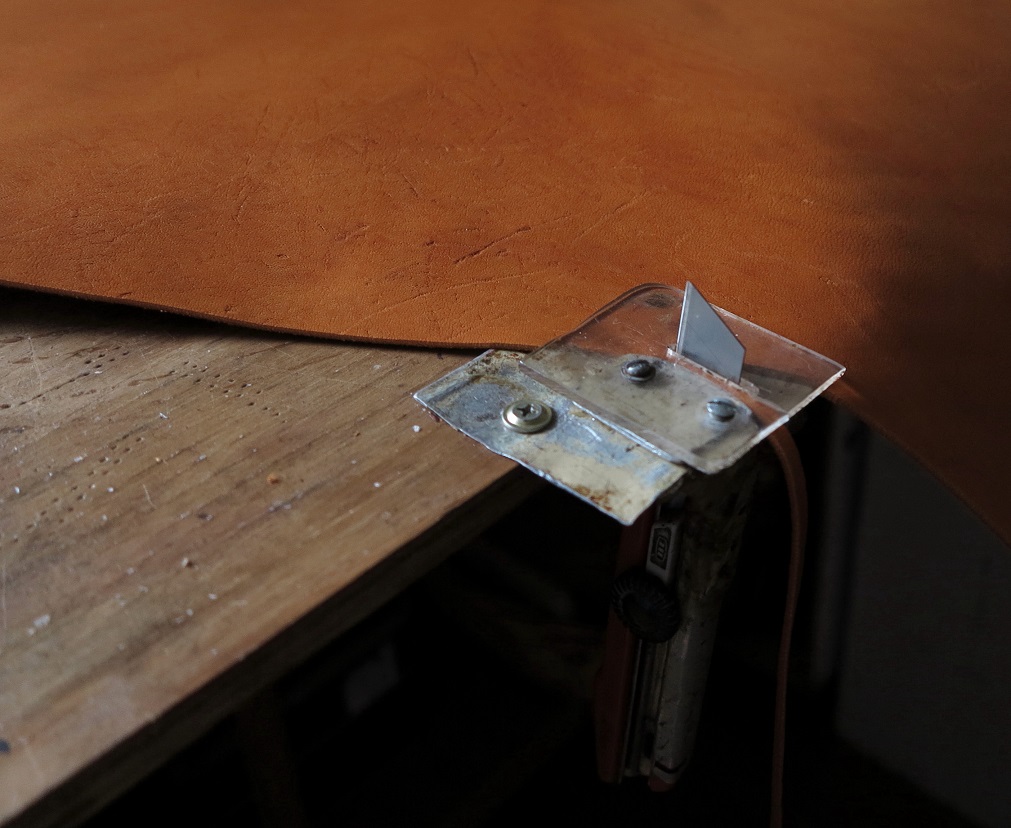 The roo hides come with their own stories... You can see the scratches and war wounds on the hide and get a bit of an idea of how tough life was for the roo. Sometimes if the scratches are too deep you have to cut that bit out otherwise it will weaken the strand.
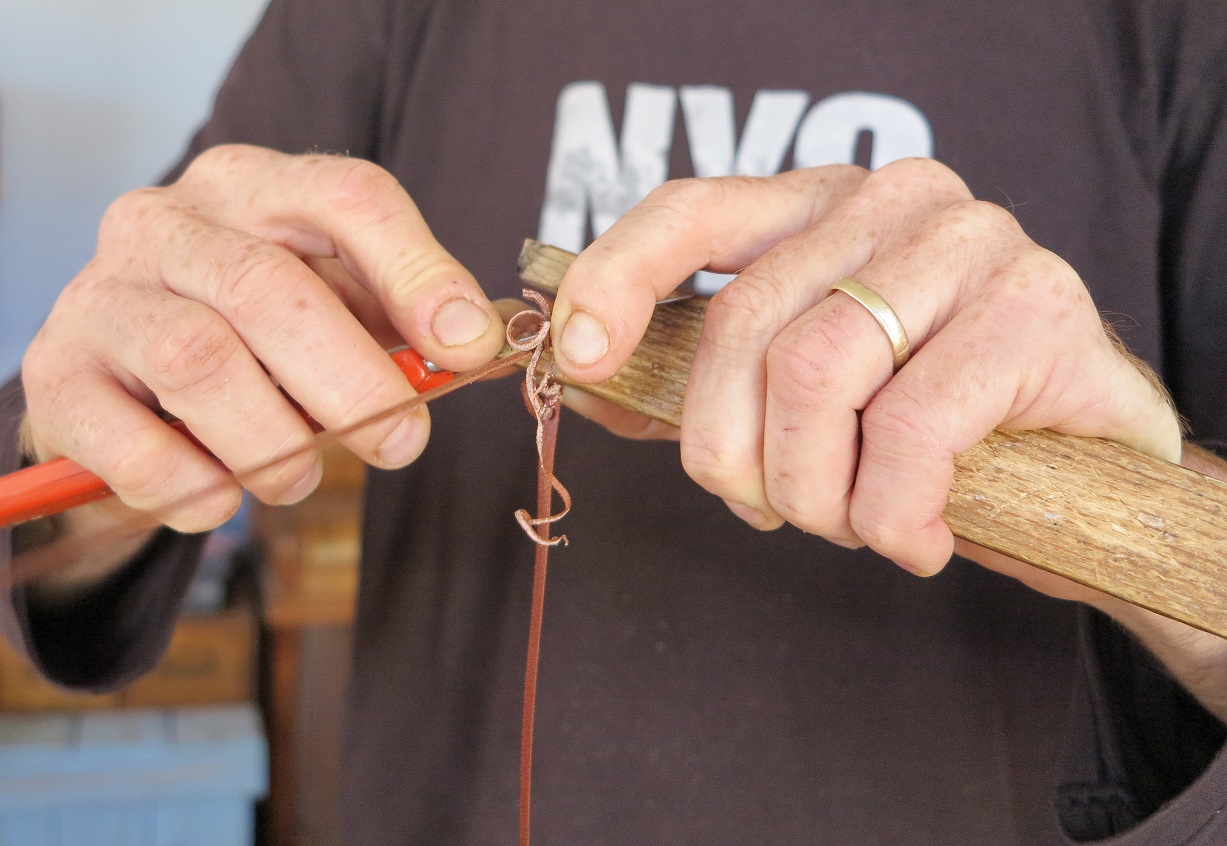 Next step is the bevelling and stretching. Once again this old hand made wooden tool was passed down to Charlie, and is probably as old the cutter, at least 30 years old. It's very basic but does the job. Bevelling the underside of the strands creates a neater flatter plaited product. Again, super hard to do without cutting right through it. I may or may not have ruined many long strands trying to do this!
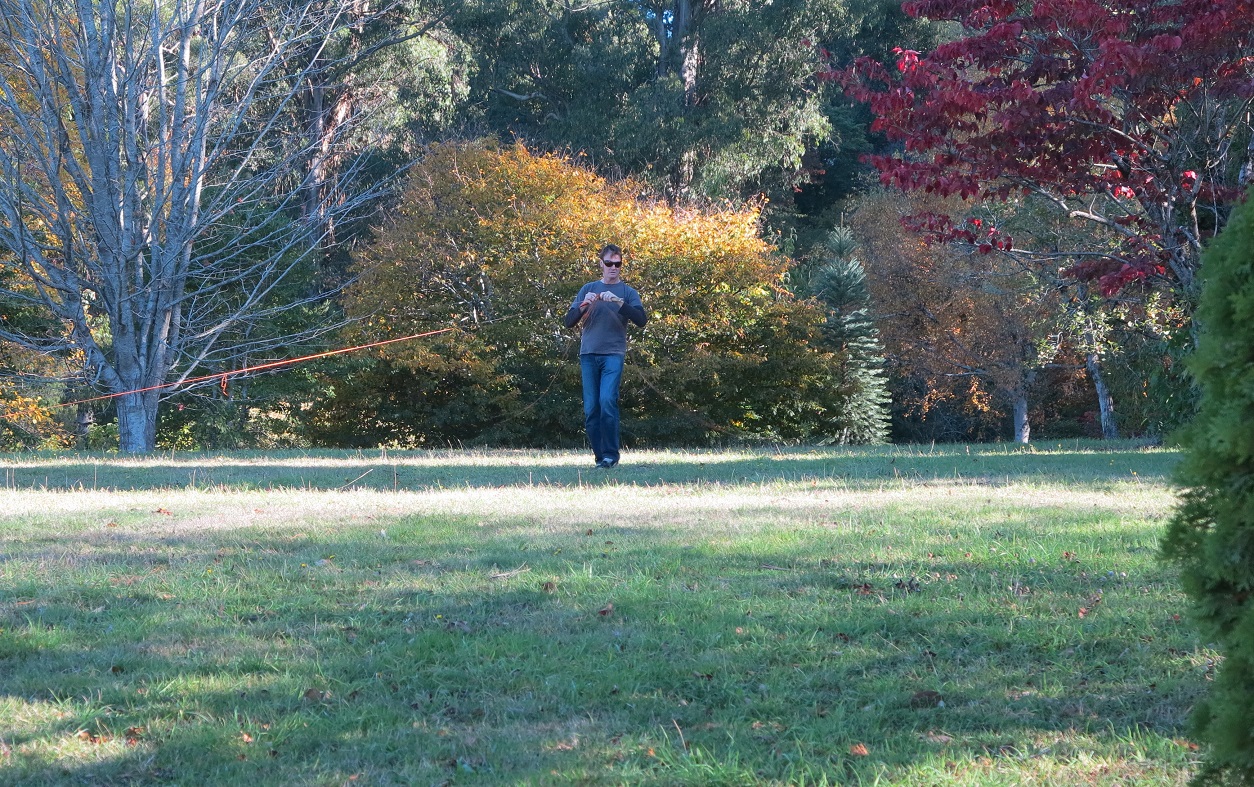 It's best to bevel and stretch the strands in a big open space, where you can walk backwards long distances without running into anything. We often go crafting in our fave gardens where Charlie bevels his little heart out whilst I crochet.
 If it's raining, Charlie will do the bevel and stretching in stages at home. We end up with a lot of little scrappy bits of leather, which if left outside, make great nests for the birds.
 After bevelling comes waxing. Old candles never go to waste around here as Charlie uses them to run up down the length of the strands in preparation for plaiting.
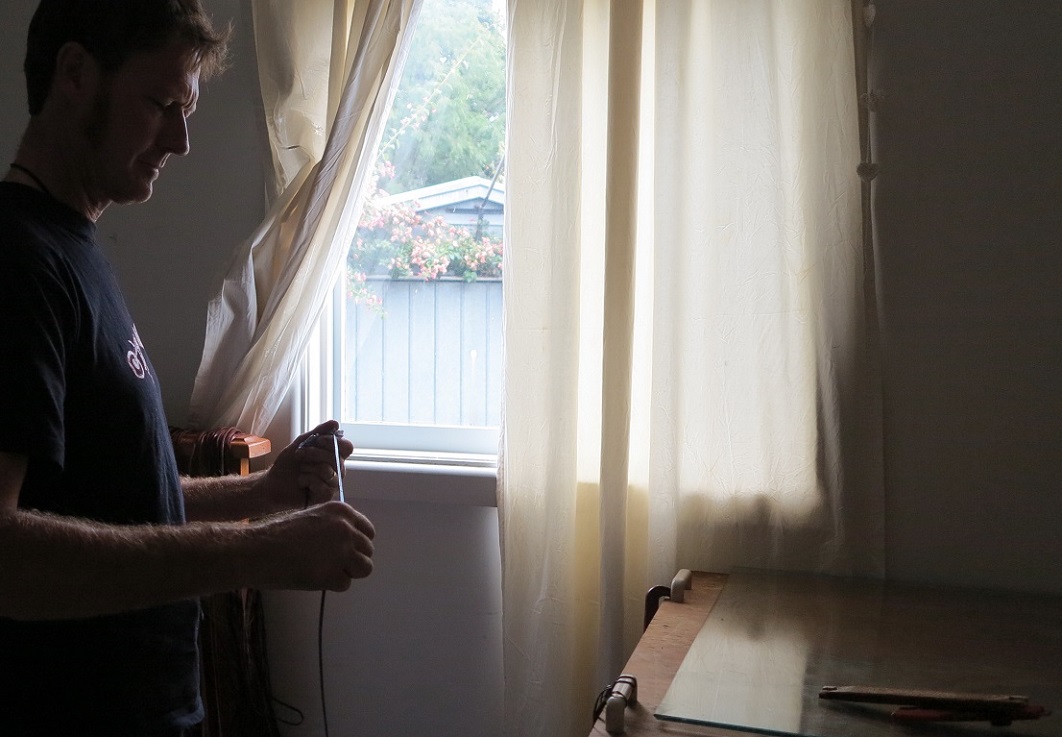 The waxing process makes the plaiting smoother and easier... making the strands more pliable.
 Finally, the plaiting can begin. After measuring out the length of the item being made, working out the number of strands to plait a particular pattern and create a certain width, then the long strands are cut into the correct lengths.
 Plaiting requires very strong hands, and thumbs in particular, to smooth out the plaits as you move along the item. This is a belt in the making and it takes hours and hours to just plait the belt, so you can imagine the time involved to create a belt from start to finish.
It's an amazing process don't you think? I liken it to seeing a ball of yarn turned into a blanket or hat or scarf. In fact what we do is not that dissimilar - we are both knotting/interweaving long strands of something. I admire the patience it takes for Charlie to get the plaiting stage. I just pick up a ball of yarn all ready to go, but that stage for Charlie is at the end of a long skillful set of process, that most people don't know about. Which is why I thought I would share it with you. I hope you enjoyed it? Do let me know in the comments below if you did, I'd love to hear from you! Cheers, The Stockman's Wife.